Some of the most interesting painting tools are not found in an art shop.
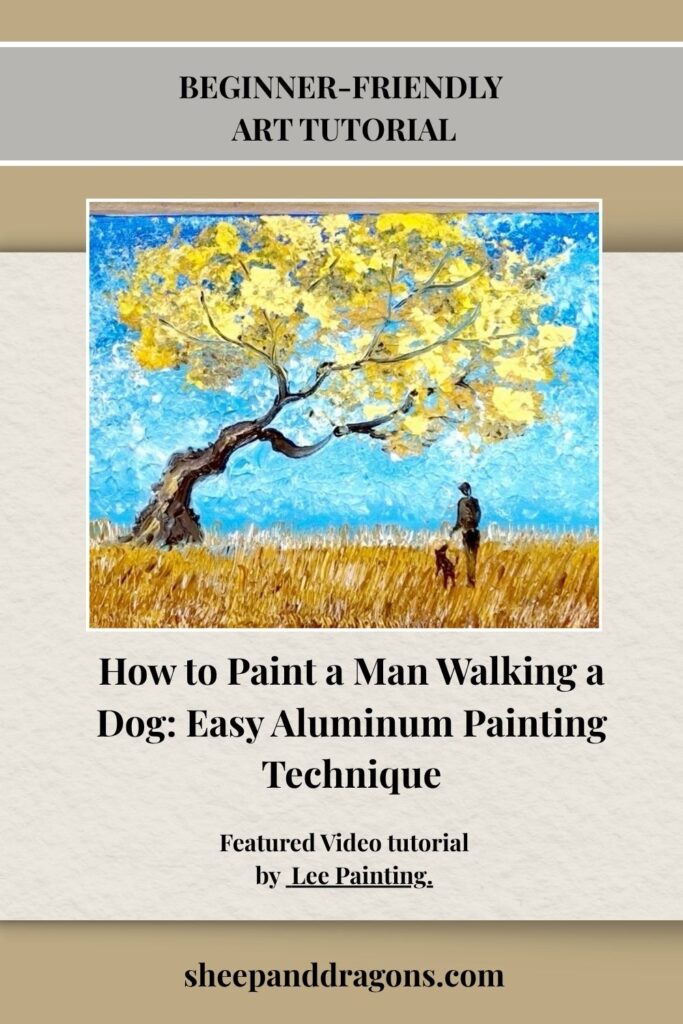
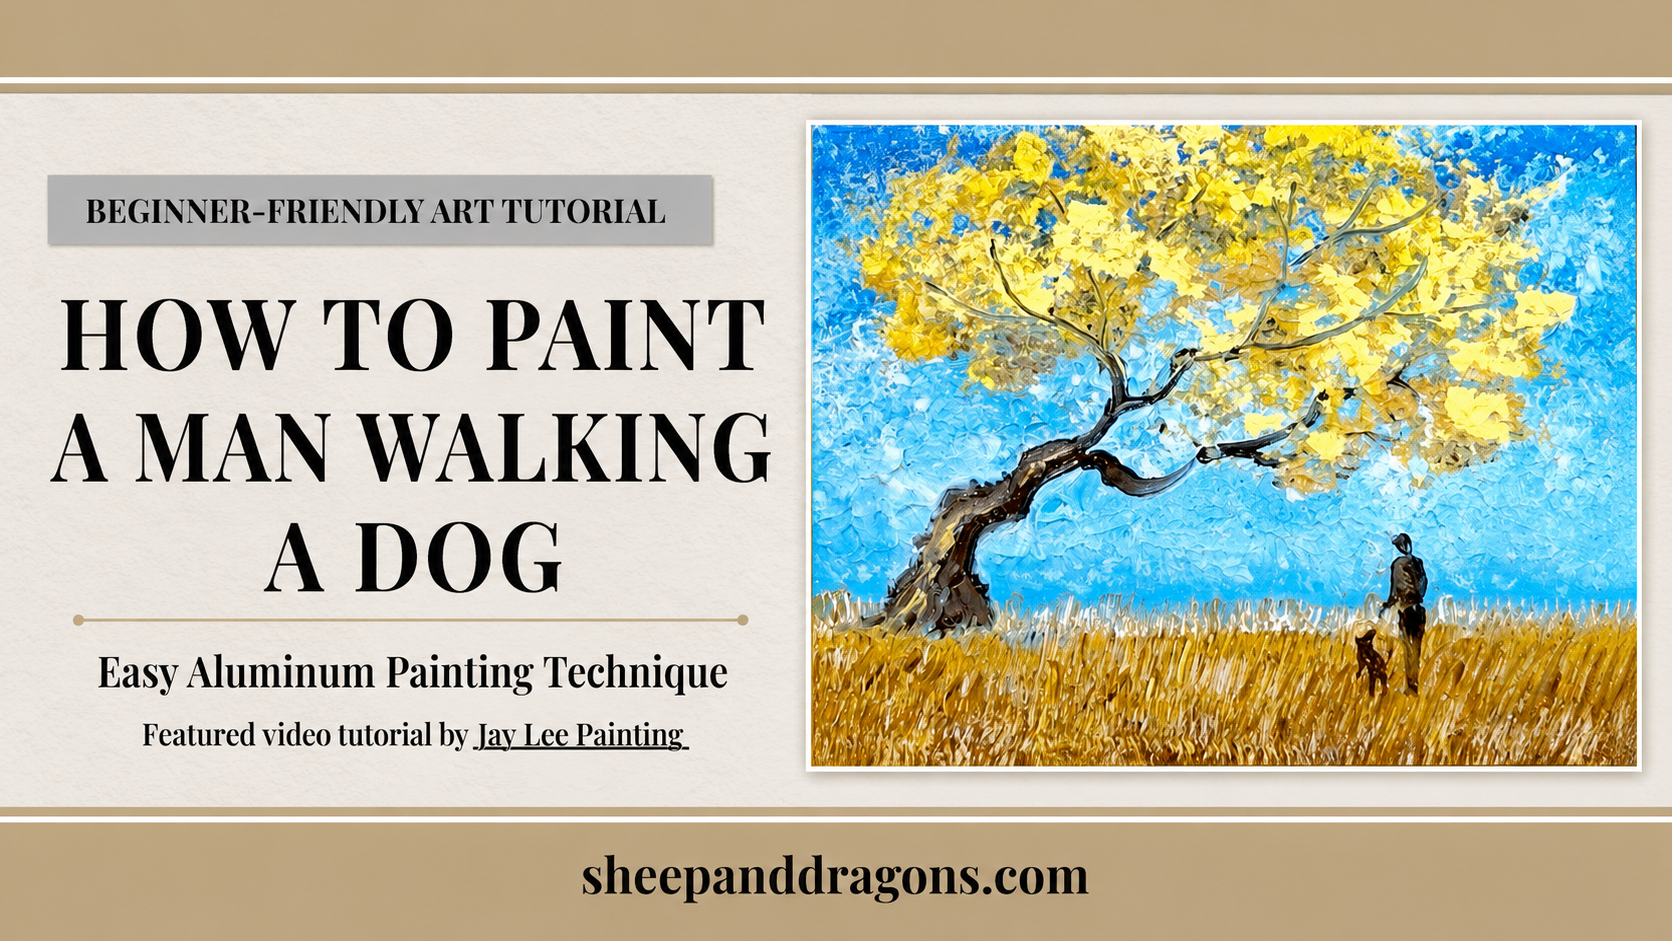
In this atmospheric acrylic tutorial, artist Jay Lee uses aluminum to create lively texture before adding the small silhouettes of a man and his dog. The finished scene feels peaceful and full of movement: a quiet walk along a sunlit path, surrounded by layers of foliage.
This is a wonderful project for anyone who enjoys experimenting with acrylic paint but does not want every mark to feel controlled or perfect. The textured technique helps establish the environment quickly, while the two small figures give the painting a story.
In this article, I will introduce the featured video, explore why the composition works, and share practical ideas for creating your own version without copying the original painting exactly.
Featured Tutorial: How to Draw a Man Walking a Dog
The featured video is “How to Draw a Man Walking Dog / Aluminum Painting Techniques” by Jay Lee Painting.
Jay Lee is a painting creator who works with different media and frequently demonstrates approachable acrylic techniques using both conventional brushes and familiar everyday objects. His short, visually focused videos allow viewers to watch a painting develop from the first background marks to the final details.
This particular tutorial is approximately six minutes long. It shows how a textured woodland scene can become the setting for a simple narrative: one person and a dog walking together.
Watch How to Draw a Man Walking Dog / Aluminum Painting Techniques on YouTube
The embedded video and original tutorial belong to Jay Lee Painting. This article is an independent introduction and creative companion to the tutorial.
Why Use Aluminum as a Painting Tool?
A brush often creates marks that follow the shape and direction of its bristles. Crumpled or shaped aluminum has an irregular surface, so it transfers paint in broken, unpredictable patches.
Those marks are especially useful for subjects that already contain natural variation, such as:
- Foliage
- Bushes
- Moss
- Clouds
- Reflections
- Rough ground
- Distant tree texture
- Abstract backgrounds
Instead of painting hundreds of individual leaves, you can suggest clusters of light and shadow. The viewer’s eye completes the detail.
The aluminum is not replacing every brush in the painting. It is creating a textured foundation that can be refined with more deliberate marks afterward.
Suggested Materials
Watch the video before beginning and adapt the materials to the surface and paint you already own.
A simple setup may include:
- Canvas, canvas board, or heavy acrylic paper
- Acrylic paints
- A palette or disposable mixing surface
- Brushes in a few sizes
- A small piece of aluminum foil
- Water
- Cloth or paper towel
- Pencil or chalk for optional placement marks
You do not need the exact same paint colors to explore the technique. A limited selection of one dark color, one or two greens, a warm yellow, blue, and white can create many useful mixtures for a woodland scene.
If you are trying the tool for the first time, test it on scrap paper before touching the main painting. Different folds and amounts of pressure will create very different textures.
Step 1: Prepare the Aluminum
Begin with a manageable piece of clean aluminum foil. Loosely crumple or fold it to create an uneven painting surface, leaving part of it gathered into a shape you can hold.
Avoid compressing it into a perfectly hard ball. A mixture of ridges, small flat areas, and creases produces more varied marks.
Test several actions:
- Press and lift
- Turn the foil between impressions
- Drag it lightly
- Use one corner for smaller marks
- Flatten a section for broader patches
Do not scrub aggressively against a delicate surface. The goal is to transfer paint and texture, not damage the canvas or paper.
Step 2: Establish the Background and Light
Before adding small details, decide where the light is coming from and where the path will lead.
The featured scene uses depth to guide the viewer into the painting. A lighter central or distant area can act as the destination, while darker foliage and tree shapes frame the path.
Think in large areas:
- Where is the brightest light?
- Where will the darkest shapes sit?
- How wide is the path in the foreground?
- Where will it narrow as it moves into the distance?
- Where will the walking figures appear?
Keeping the distant area lighter and less detailed can help it recede. Stronger contrast and texture in the foreground bring that area visually closer.
At this stage, do not worry about leaves, branches, or the exact shape of the person. Build the atmosphere first.
Step 3: Add Organic Texture
Apply a small amount of paint to the raised parts of the aluminum. Press it gently against the surface and lift it away.
The first marks may look strange in isolation. Continue layering them while preserving some of the background.
For more natural results:
- Rotate the aluminum frequently
- Vary the pressure
- Avoid stamping at perfectly even intervals
- Overlap some impressions
- Leave quiet areas between dense clusters
- Use darker textures below lighter ones
- Change the scale of the marks
If every impression looks identical, reshape the foil or use a different edge.
Build the darkest masses first, then add middle tones and highlights more selectively. The lightest color should not cover everything. Small bright areas often create a stronger feeling of sunlight.
Step 4: Create Depth with Layers
Woodland scenes become convincing when they contain several levels of visual depth.
Background
Use softer edges, lighter values, and less contrast. Distant foliage does not need individual definition.
Middle distance
Introduce clearer tree shapes and medium-value textures. This is where the path begins to feel enclosed by the surrounding landscape.
Foreground
Use deeper darks, stronger highlights, and larger marks. A few defined branches or patches of texture can frame the composition.
Atmospheric perspective does not require perfect realism. The contrast between soft distant shapes and stronger foreground marks is often enough.
Step 5: Shape the Path
The path is one of the most important compositional tools in the painting.
A path that begins wider near the bottom and becomes narrower toward the distance creates perspective. Gentle curves can make the composition feel more natural and encourage the viewer’s eye to travel through the landscape.
Use differences in value to separate the path from the surrounding foliage. You can also suggest patches of light crossing the ground rather than painting one flat, uninterrupted color.
Look at the negative space between the trees and foliage. The path should feel like an opening through the environment, not a shape pasted on top of it.
Step 6: Add the Man and Dog
The figures are small, but they transform the landscape into a story.
Place them where they are easy to recognize without blocking the brightest focal area. Their scale should feel consistent with the width of the path and the apparent distance.
For a simple walking silhouette:
- Keep the head small in relation to the body
- Suggest the torso with one clear dark shape
- Angle the legs to imply movement
- Add only the details needed for the pose
- Keep the dog’s body, legs, head, and tail readable
- Use a fine line for the leash if it is visible
Silhouettes depend on their outer shapes. You do not need facial details or carefully painted clothing folds.
Step away from the painting and check whether you can still identify the man and dog from a distance. If not, simplify and strengthen the shapes.
Why the Tiny Figures Matter
Without the figures, the painting would still be an attractive woodland scene. With them, it becomes a moment.
The viewer may imagine:
- A quiet morning walk
- Companionship
- A familiar daily routine
- A journey deeper into the woods
- Solitude without loneliness
- A peaceful escape from noise
The relative smallness of the person and dog also emphasizes the scale of the natural setting.
This is a useful lesson for any landscape painter: a figure does not need to dominate the canvas to become the emotional focus.
Step 7: Add Final Highlights
Use the final stage to strengthen the focal area rather than adding detail everywhere.
Possible finishing touches include:
- Small highlights on the edge of foliage
- Brighter light along part of the path
- A few defined branches
- Darker accents near the foreground
- A subtle highlight separating the figures from the background
- A small shadow beneath the man and dog
Stop periodically and view the painting from several steps away. If the path, figures, light, and surrounding foliage read clearly, the painting may already be finished.
Adding more texture is tempting. Knowing when to stop is the sneaky final technique no piece of aluminum can perform for you.
Beginner Tips for Better Texture
Use less paint than you think
Too much paint can fill the foil’s creases and create one heavy blob. Begin with a thin application and add more as needed.
Test every new mixture
A quick impression on scrap paper reveals both the color and the pattern before it reaches the painting.
Let some layers dry
If all the paint is wet, new impressions may blend into mud. Allowing selected layers to dry preserves clearer texture.
Change the foil
If the tool becomes overloaded or its shape stops producing useful marks, clean it carefully or prepare a fresh piece.
Protect the focal point
Do not cover the brightest opening or the figures with unnecessary texture.
Embrace irregularity
Natural foliage should not look mechanically repeated. Uneven marks are the entire point of the exercise.
Make the Painting Your Own
The best way to learn from another artist is to understand the technique and then use it for a different creative decision.
You could change:
- The season
- The time of day
- The color palette
- The direction of the path
- The species or number of dogs
- The clothing silhouette
- The type of landscape
- The emotional mood
Autumn variation
Use rust, ochre, burgundy, deep brown, and muted green. Place warm highlights along the path.
Misty blue morning
Choose blue-grey, charcoal, pale aqua, and soft white. Reduce contrast in the distance.
Moonlit walk
Build the scene with navy, violet, blue-green, and cool silver highlights.
Spring woodland
Use yellow-green, fresh leaf green, warm cream, and small touches of blossom color.
A personal story
Paint a person and animal that mean something to you. The figures can remain simple silhouettes while still carrying a private memory.
What This Tutorial Teaches Beyond the Finished Painting
This short video contains several lessons that can be applied to other artwork:
- Everyday objects can create expressive marks
- Texture can suggest detail without describing every leaf
- Light and value establish atmosphere
- A path can guide the viewer through a composition
- Small silhouettes can create narrative and scale
- Layering is more effective than trying to finish an area in one pass
- Irregular marks often feel more natural than repeated brushstrokes
The finished image is appealing, but the larger value of the tutorial is the method. Once you understand what the aluminum contributes, you can use it in many different landscapes and abstract paintings.
About Jay Lee Painting
Jay Lee Painting shares painting videos for viewers around the world, using canvas, acrylic paint, varied media, and creative tools. The channel contains a large collection of approachable painting demonstrations, including landscapes and other experimental texture techniques.
If you enjoy seeing paintings develop visually with minimal interruption, the channel is worth exploring beyond this single tutorial.
Discover More Art Tutorials
If you enjoyed this creative acrylic technique, continue exploring:
- How to Paint a Tree with Watercolor Pencils
- Beginner acrylic landscape painting
- Painting texture with household objects
- Silhouette painting
- Woodland and nature studies
- Simple atmospheric perspective
The purpose of these featured tutorials is to introduce inspiring educational work by other artists while encouraging you to experiment and develop your own creative version.
Video Credit
The embedded video, “How to Draw a Man Walking Dog / Aluminum Painting Techniques,” was created by Jay Lee Painting. All video footage, the demonstrated composition, and the original painting belong to the creator. The surrounding written commentary, learning notes, and creative suggestions are original Sheep & Dragons content.