A Beginner-Friendly Guide
Creating a repeating pattern can feel a little like solving a puzzle. Every element must fit together, the edges must meet perfectly, and the final design should flow without any obvious gaps or seams. Fortunately, Procreate makes the process much more approachable than it first appears.
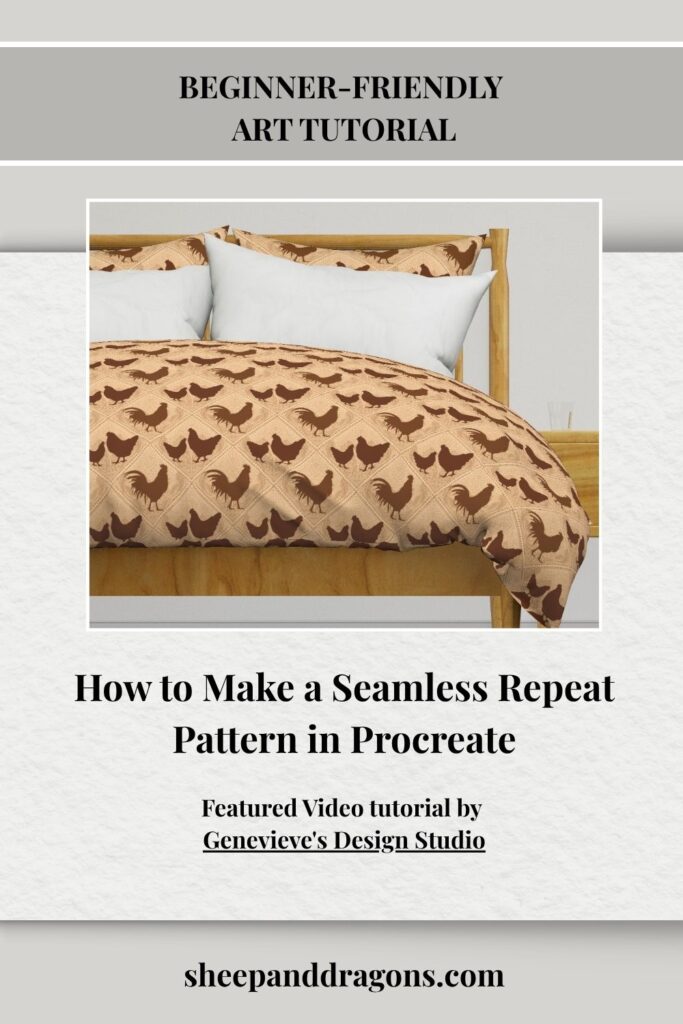
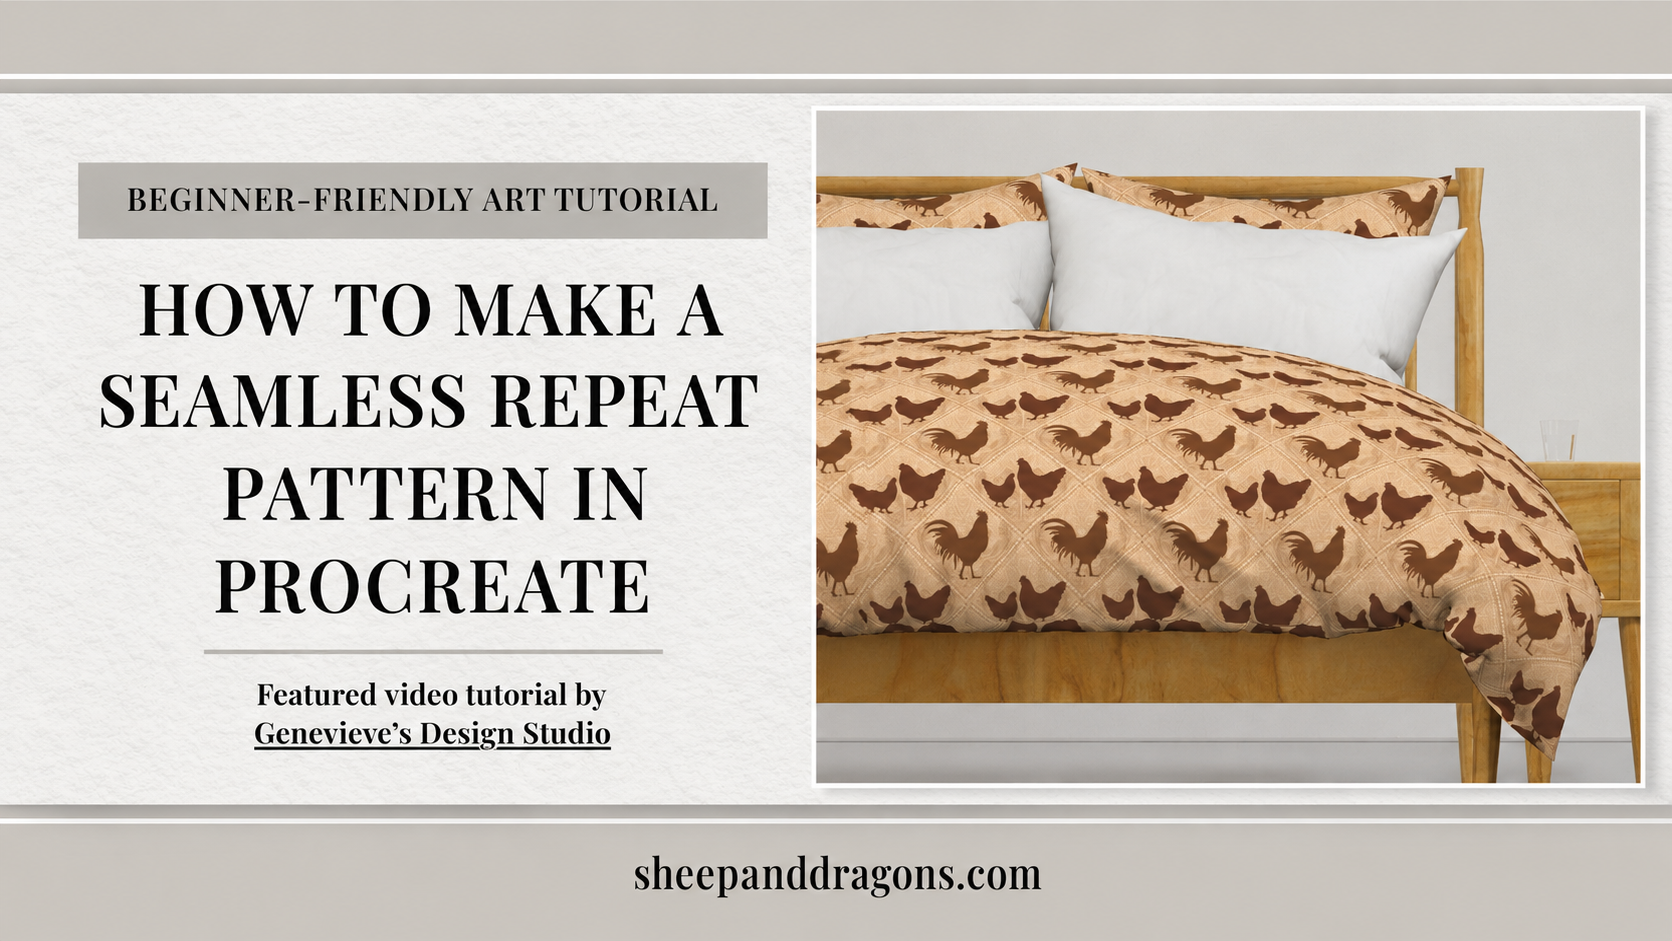
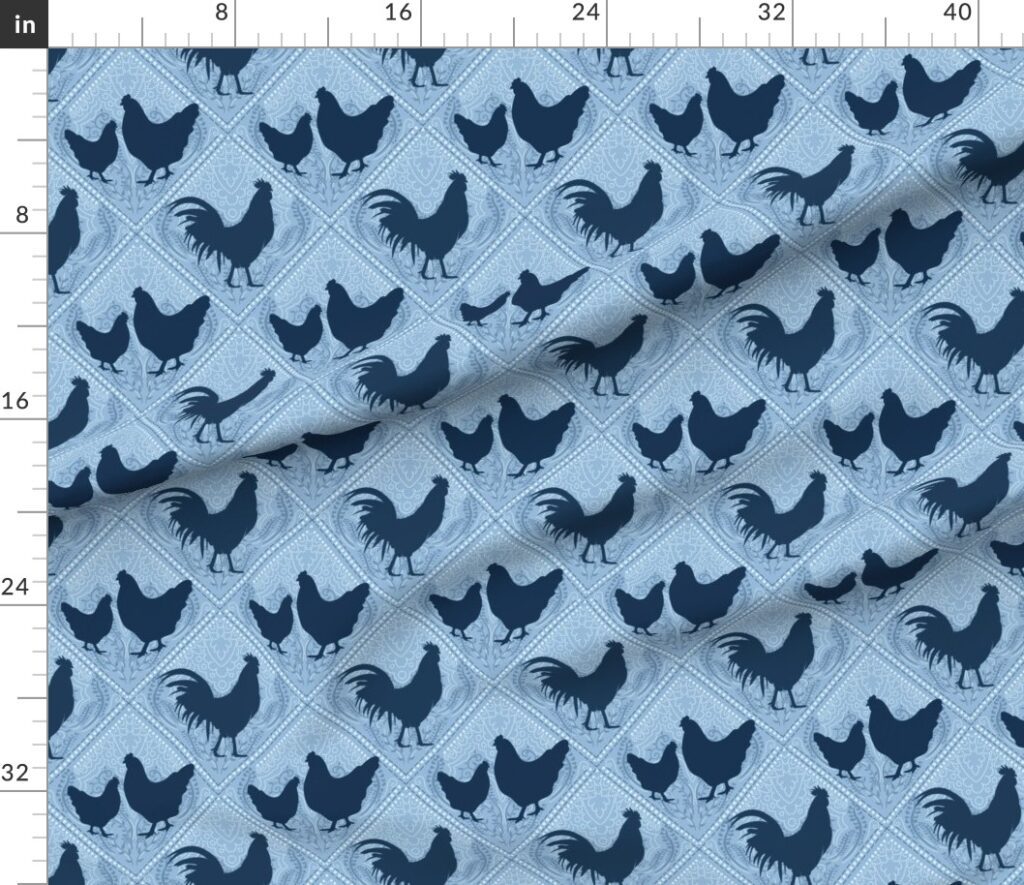
In this beginner-friendly guide, I will take you behind the scenes of one of my own pattern designs—from the first rough sketch to a finished seamless repeat. I have also included a helpful video tutorial by Genevieve’s Design Studio, so you can watch the technique in action as you work.
Whether you want to create fabric, wallpaper, stationery, gifts, or simply explore a new form of digital art, learning how to make a seamless pattern in Procreate opens up many creative possibilities.
What Is a Seamless Repeat Pattern?
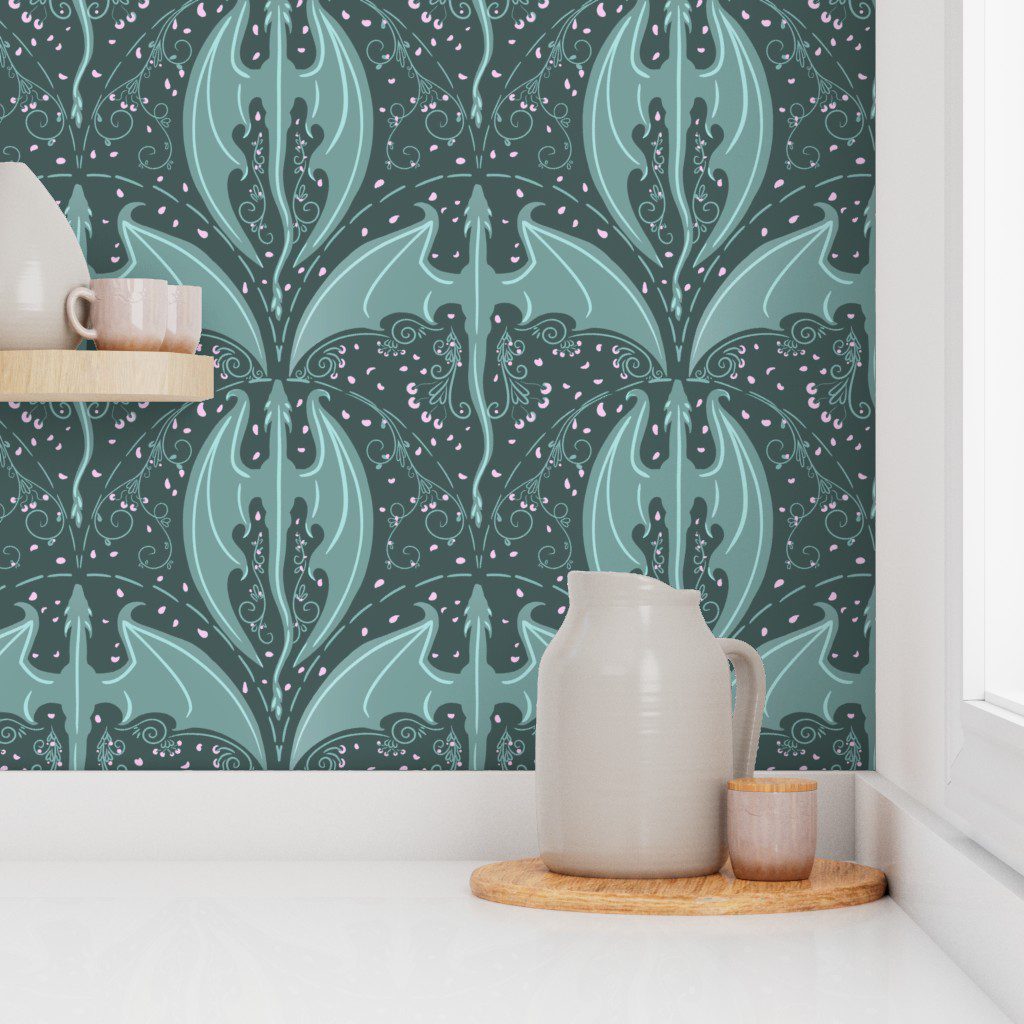
A seamless repeat is a design tile that can be placed beside copies of itself in every direction without visible breaks. The artwork along the left edge continues perfectly onto the right edge, while the top and bottom edges match in the same way.
Once the tile is repeated, the viewer should not be able to tell where one square ends and the next begins.
Seamless patterns are commonly used for:
- Fabric and wallpaper
- Gift wrap
- Home décor
- Clothing and accessories
- Stationery and greeting cards
- Digital backgrounds
- Print-on-demand products
The basic principle is simple: anything that moves off one edge of the canvas must reappear in exactly the correct position on the opposite edge.
What You Need
You do not need a complicated setup to begin. For this project, I use:
- An iPad
- The Procreate app
- An Apple Pencil or compatible stylus
- A few original sketches or illustrated motifs
- A simple color palette
You can create a repeat with almost any subject. Flowers, animals, leaves, stars, food, abstract marks, and whimsical characters can all become beautiful patterns.
Step 1: Begin with a Simple Idea
I usually start by choosing a theme rather than trying to plan the entire repeat at once. A small collection of related objects is often enough.
For example, a woodland pattern might include leaves, mushrooms, berries, and tiny stars. A coastal pattern could use shells, seaweed, fish, and bubbles. Keeping the theme focused helps the finished design feel connected.
At this stage, I make loose sketches and explore different shapes. The drawings do not need to be polished. The goal is to discover which motifs work well together and which shapes will help fill the spaces between the larger illustrations.
A useful beginner tip
Choose one or two larger “hero” elements, several medium-sized elements, and a few tiny filler motifs. This variation gives the eye somewhere to rest and makes it easier to balance the final repeat.
Step 2: Create and Organize the Motifs
Next, I redraw or clean up the chosen elements in Procreate. I prefer to keep important motifs on separate layers while I am still experimenting. This allows me to move, resize, rotate, or recolor individual illustrations without affecting the rest of the artwork.
Before arranging the repeat, I check that:
- The shapes are easy to recognize at the intended size
- The line work and textures feel consistent
- The colors work together
- There is a mixture of large, medium, and small elements
- The motifs can be rotated without making the design feel upside down
If the finished pattern will be viewed from several directions—on fabric, for example—I try not to give every element the same orientation. Rotating some motifs creates a more natural, tossed appearance.
Step 3: Arrange the Center of the Tile
I begin the pattern tile by arranging the main illustrations near the center of the canvas. At first, I avoid placing anything across the outer edges.
This is the most playful part of the process. I move the motifs around, test different spacing, and look for accidental lines or empty channels. If several objects create a straight row, I shift or rotate one of them to make the layout feel more organic.
It is tempting to fill every open space immediately, but leaving some breathing room can make the finished pattern more useful. A dense repeat may look wonderful on a small accessory, while a more open design can work beautifully on wallpaper or bedding.
Step 4: Build the Seamless Edges
Once the center feels balanced, it is time to create the repeat.
The exact tools and menu options can vary slightly between Procreate versions, but the essential process is to:
- Keep an untouched backup of the working artwork.
- Combine or group the layers needed for the tile.
- Duplicate the tile before moving it.
- Shift copies by exactly half the canvas width and height.
- Bring the original outer edges into the center.
- Fill the newly revealed gaps without moving the elements that now form the seams.
Accuracy matters here. If a tile is moved almost halfway rather than exactly halfway, a thin line or misalignment may appear in the final repeat.
Procreate’s snapping and numerical transform controls can help keep each move precise. Work slowly, zoom in when necessary, and preserve a backup before flattening or merging layers.
Featured Video Tutorial by Genevieve’s Design Studio
If you would like to see the method demonstrated visually, this tutorial from Genevieve’s Design Studio provides clear voice-over instructions for creating seamless patterns in Procreate. It is a helpful companion to the process above, especially when you are learning how to move and align the repeated tile.
Watch How To Create SEAMLESS PATTERNS In Procreate on YouTube
Tutorial and video by Genevieve’s Design Studio. Visit the Genevieve’s Design Studio website for more digital-art resources and tutorials.
Step 5: Fill the Remaining Gaps
After the edges have been shifted, the original center of the design is divided and moved toward the outside. A new empty area appears in the middle of the canvas.
I fill this space using the remaining motifs and small decorative elements. I pay particular attention to the shapes created by the negative space. If one area looks noticeably empty or forms an awkward line, I adjust the central elements until the tile feels balanced.
Do not move artwork that crosses the outer boundaries at this stage. Those pieces are responsible for making the repeat seamless.
Small dots, stars, leaves, marks, or miniature versions of the main motifs can be useful fillers, but they should support the design rather than make it feel crowded.
Step 6: Test the Repeat
Never assume that a pattern is seamless simply because the tile looks finished. Testing is an essential part of the process.
I make a copy of the completed tile, reduce it, and arrange multiple copies in a grid. This reveals problems that are difficult to see in the single square.
I look for:
- Visible lines along the tile boundaries
- Elements that overlap incorrectly
- Large empty areas
- Repeated shapes that form unintended stripes
- Clusters that attract too much attention
- A motif that appears too frequently
The first test does not always work perfectly—and that is normal. Pattern design involves adjusting, testing, and adjusting again.
Step 7: Export the Finished Pattern
When I am happy with the repeat, I save the editable Procreate file and export a high-quality version of the final tile. I keep a master copy before resizing or changing the color profile for a particular marketplace.
It is useful to save:
- The original layered Procreate file
- A flattened high-resolution pattern tile
- A repeat test showing several tiles together
- Alternate colorways
- Product mockups or photographs
Different printing platforms may have different recommendations for file size, resolution, color, and format. Always check the current upload instructions on the platform you plan to use.
From Digital Pattern to Real Products
One of my favorite parts of pattern design is seeing an illustration leave the iPad and become something tangible.
My patterns are available through a few carefully chosen marketplaces. On Spoonflower, designs can become fabric, wallpaper, and home décor. Zazzle makes it possible to use artwork on gifts, stationery, accessories, and many other products.
Find my patterns on Spoonflower
Explore my designs on fabric, wallpaper, and home décor:
You can also visit my Sheep and Dragons on Spoonflower page to learn more.
Shop my designs on Zazzle
Find my artwork on gifts, stationery, accessories, and home décor:
Most of my Zazzle designs can be transferred to another product. If you love a design but cannot find it on the item you want, you are welcome to contact me.
Every purchase supports my work as an independent Icelandic artist and author.
What I Learned from Making This Pattern
Creating a seamless repeat is both technical and creative. The technique makes the tile work, but the personality of the pattern comes from the original drawings, color choices, spacing, and small imperfections.
My biggest lesson is not to expect the first arrangement to be final. Moving one small element can change the rhythm of the whole design. Testing the repeat at different scales also helps me imagine whether it will work best on fabric, wallpaper, stationery, or a smaller product.
Once you understand the basic method, you can use it again and again with completely different artwork. Begin with a few simple motifs, keep backup copies, test the repeat carefully, and allow yourself to experiment.
The most important thing is to make the pattern your own.
Video Credit
The embedded video, “How To Create SEAMLESS PATTERNS In Procreate,” was created by Genevieve’s Design Studio and is shared here as a featured external tutorial. All video content belongs to its original creator. The written article and pattern-process images are original Sheep & Dragons content.