Everything You Need to Know
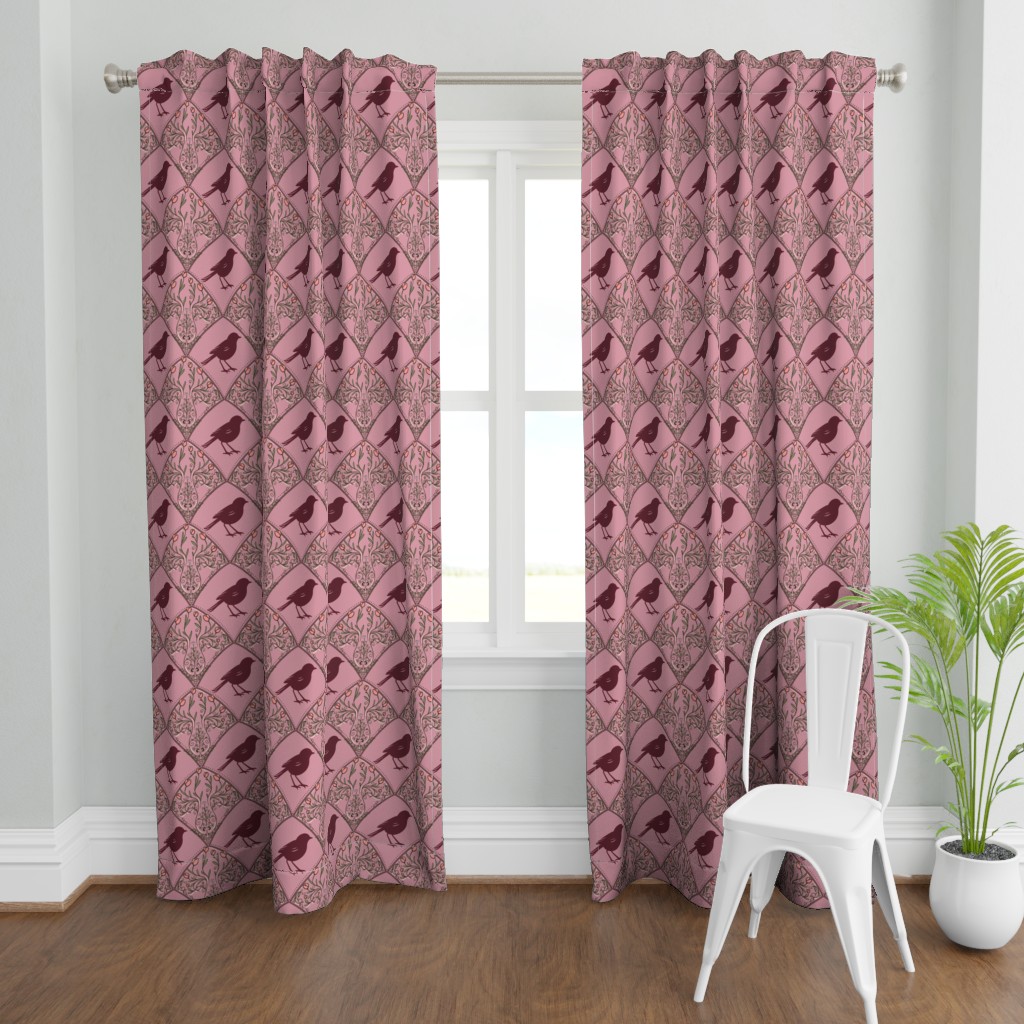
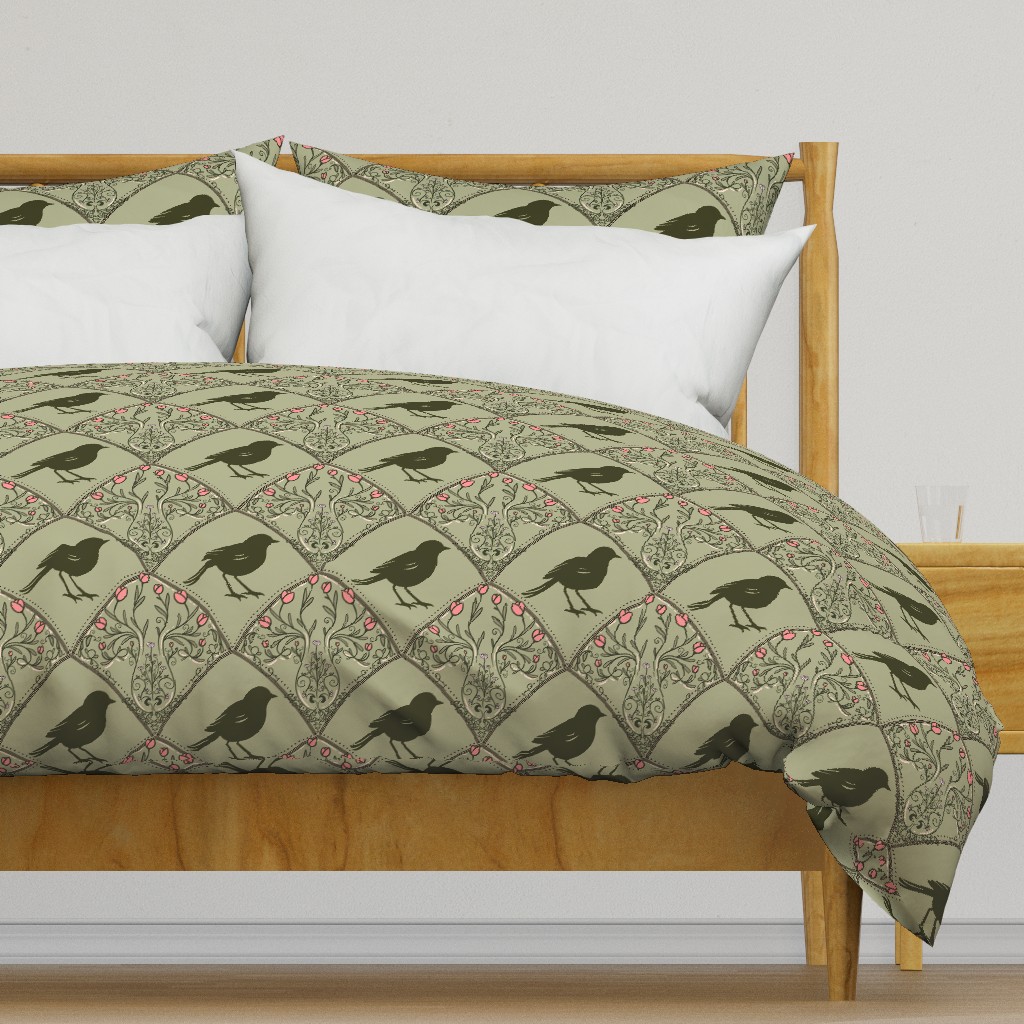
Look around you and you will probably find a surface pattern within a few seconds. It may be printed on your curtains, bedding, favorite notebook, wallpaper, coffee mug, dress, or the fabric covering a chair.
Behind every one of those patterns is an artist who transformed an idea into a design that could repeat across a surface.
Surface pattern design may sound technical when you first encounter it, but it begins with something wonderfully simple: drawing images and arranging them in a way that feels balanced, interesting, and repeatable.
In this beginner-friendly guide, I will explain what surface pattern design is, how repeating patterns are created, what tools you can use, and how original artwork can become fabric, wallpaper, home décor, stationery, and other products.
What Is Surface Pattern Design?
Surface pattern design is the creation of artwork intended to decorate a surface. The design may be printed, woven, embroidered, engraved, or digitally applied to a product.
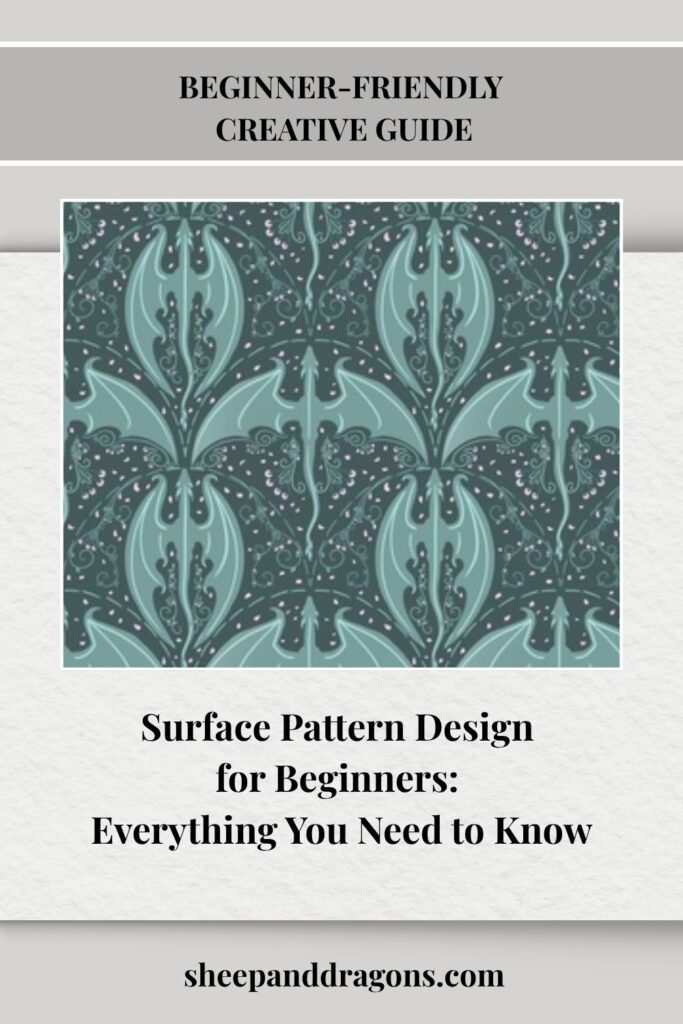
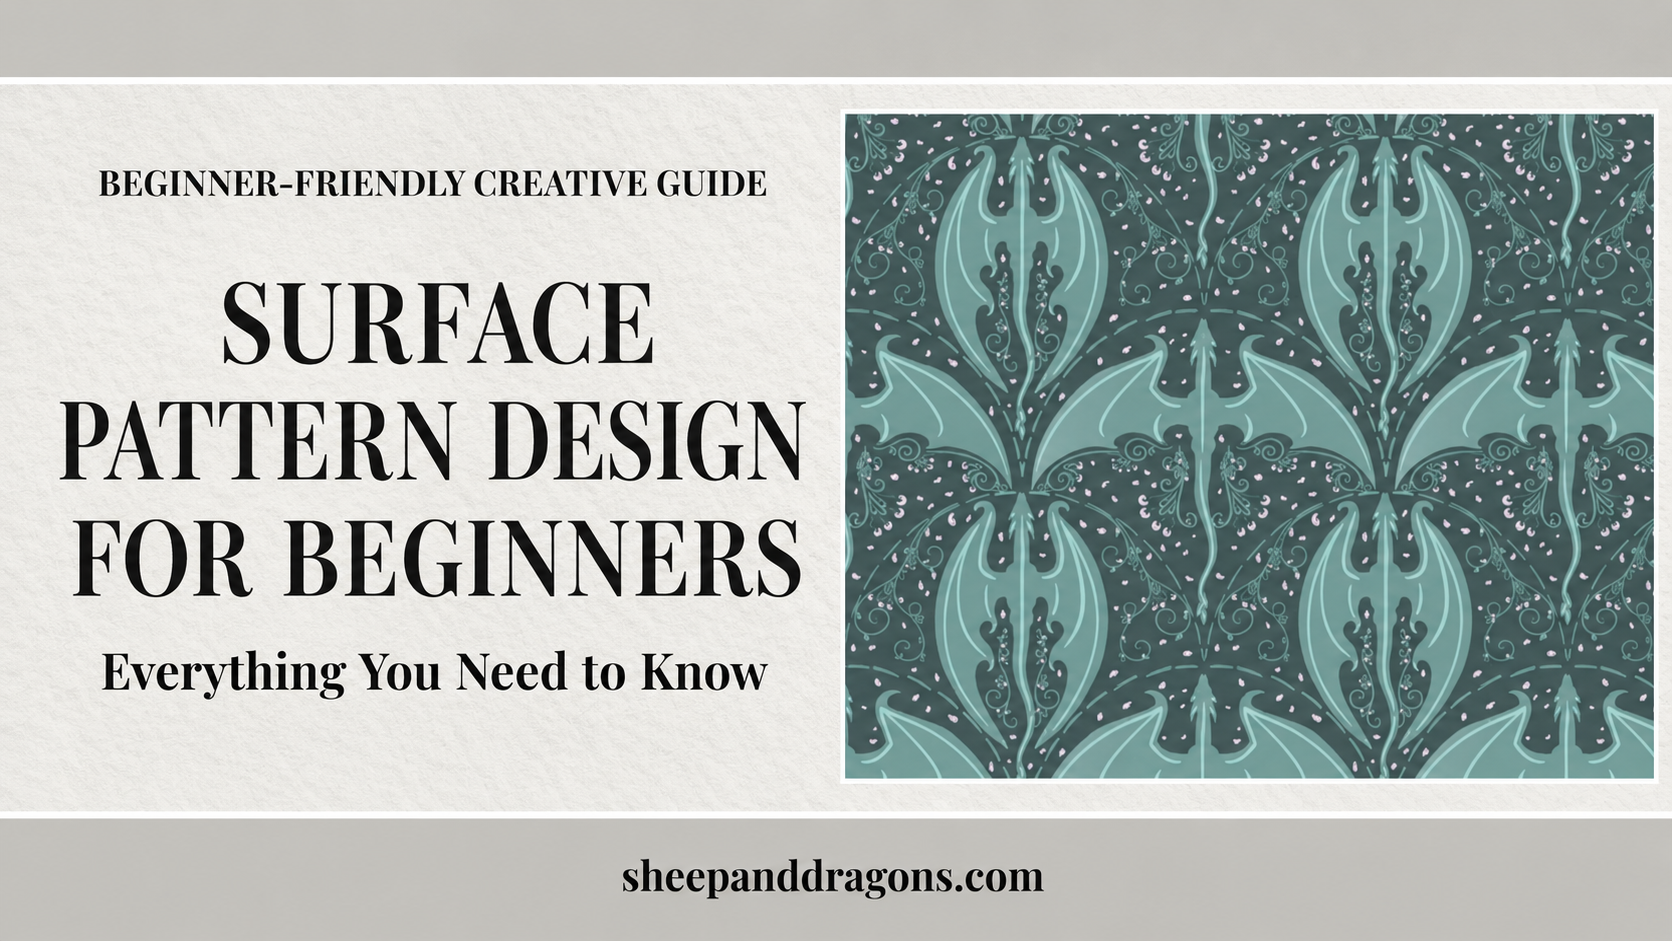
Some surface designs are individual placement graphics, such as one large illustration centered on a T-shirt. However, many are built as repeating patterns. A small design tile is repeated across a larger area until it covers the entire surface.
This makes the same artwork adaptable to products of many different sizes. A repeat can cover a small pencil case, several metres of fabric, or an entire wall without requiring the artist to draw every inch individually.
Surface pattern design brings together:
- Illustration
- Composition
- Color
- Repetition
- Product awareness
- Technical file preparation
The technical side can be learned. Your individual drawing style, ideas, and way of combining elements are what give the finished work its personality.
Where Are Surface Patterns Used?
Surface patterns are everywhere, which is one reason this field offers so many creative possibilities.
They can appear on:
- Fabric and clothing
- Wallpaper
- Bedding and curtains
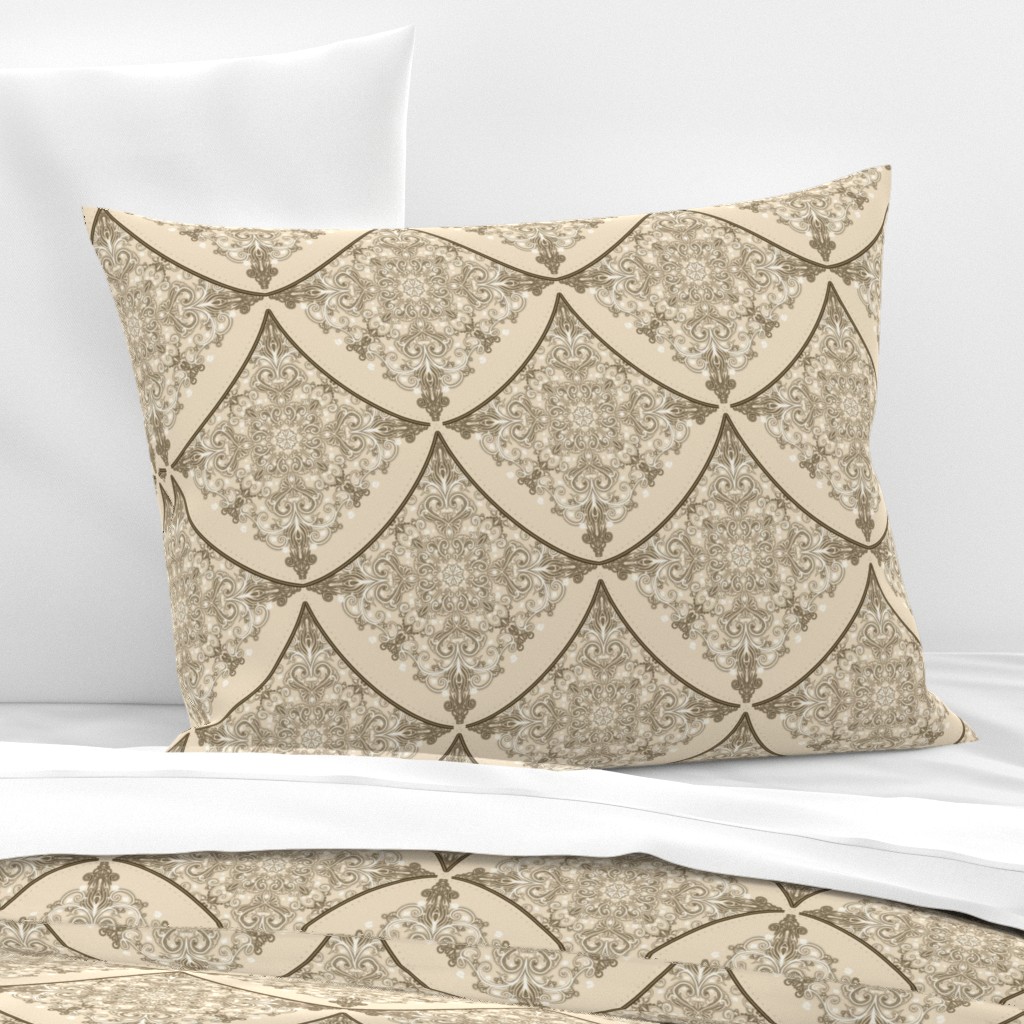
- Cushions and blankets
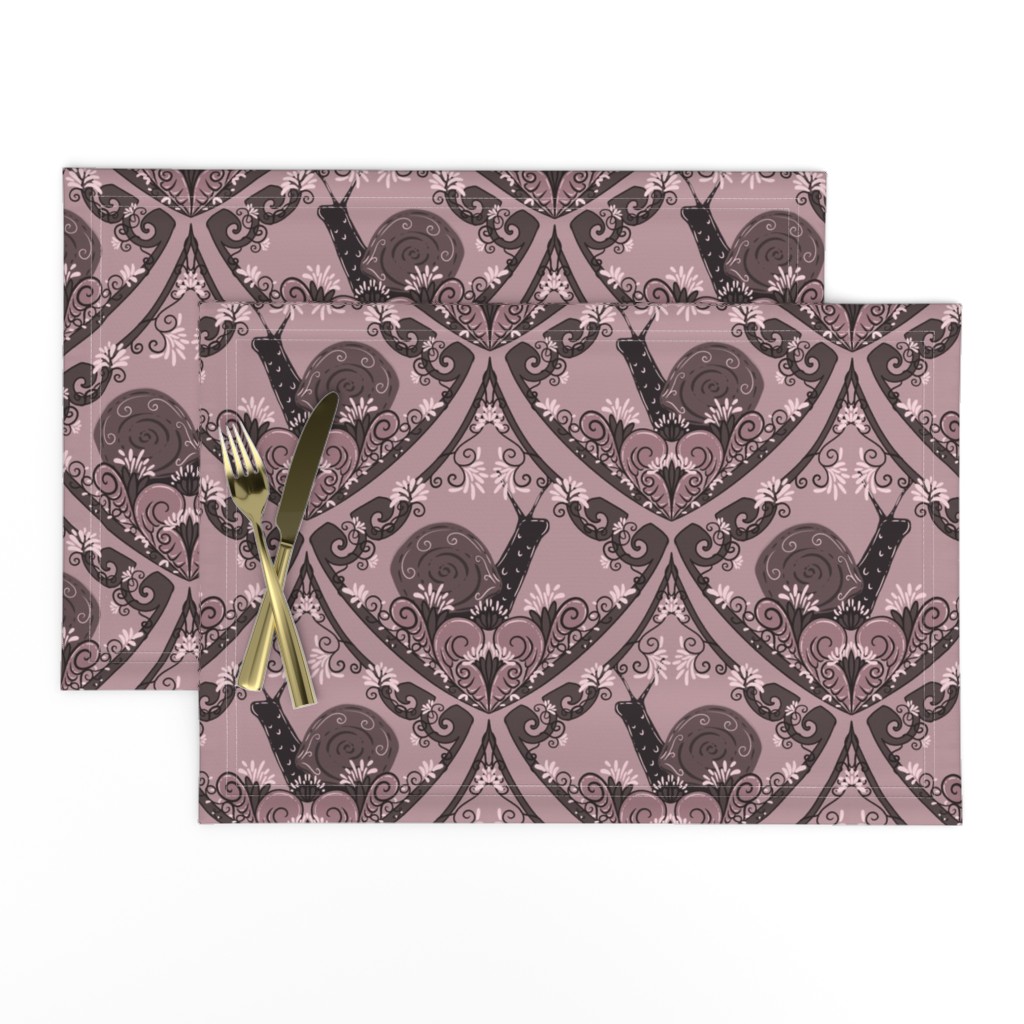
- Table linens
- Gift wrap
- Greeting cards
- Notebooks and stationery
- Phone cases
- Bags and accessories
- Mugs and other homeware
- Packaging
- Digital backgrounds
A pattern does not have to suit every possible product. Some designs naturally work best at a tiny scale on stationery or children’s clothing. Others need more space and become dramatic wallpaper, bedding, or upholstery.
Learning to imagine how a pattern will behave on a real object is an important part of becoming a surface pattern designer.
Important Surface Pattern Design Terms
You do not need to memorize an entire design dictionary before you begin. These are the terms that will make the rest of the process much easier to understand.
Motif
A motif is an individual visual element used within a pattern. It might be a flower, chicken, star, mushroom, cat, leaf, geometric shape, or hand-drawn mark.
A pattern can use one motif repeatedly or combine an entire family of related illustrations.
Hero motif
The hero motif is one of the most noticeable elements in a pattern. It is usually larger, more detailed, or more visually distinctive than the supporting motifs.
Filler motif
Filler motifs are smaller elements used to balance spaces between larger illustrations. Dots, leaves, stars, berries, and tiny flowers often work well as fillers.
Pattern tile
The pattern tile is the single square or rectangle that contains the repeat. When copies of the tile are placed beside one another, their edges meet to form the full pattern.
Seamless repeat
A seamless repeat has no visible breaks where the tiles meet. Elements crossing the left edge continue perfectly on the right, while artwork crossing the top continues at the bottom.
Colorway
A colorway is an alternate color version of the same pattern. Changing the background or motif colors can give one design several very different moods and uses.
Scale
Scale describes how large the motifs appear on the final product. The same pattern may be offered at small, medium, and large scales to suit different projects.
The Main Types of Pattern Repeats
Patterns do not all have to repeat in a simple grid. Understanding a few common repeat styles will give you more control over the rhythm of your designs.
Basic or full-drop repeat
In a basic repeat, identical tiles sit directly above, below, and beside one another. This is the simplest structure to understand and a very good place for beginners to start.
Half-drop repeat
In a half-drop repeat, each vertical column is shifted by half the height of the tile. This can make the repetition feel less obvious and create a flowing rhythm.
Half-brick repeat
A half-brick repeat works in the opposite direction. Each horizontal row is shifted by half the width of the tile, like bricks in a wall.
Tossed repeat
In a tossed design, motifs are rotated in different directions and appear scattered across the pattern. Tossed patterns are useful for fabric and products that may be viewed from several angles.
Directional repeat
A directional pattern has a clear top and bottom. Trees, standing people, houses, and text often create directional designs. They can be beautiful, but product placement requires more attention because the artwork should not appear accidentally upside down.
Mirror repeat
A mirror repeat flips the tile horizontally and vertically. This can produce symmetrical or kaleidoscopic effects, although it works better with some motifs than others.
Spoonflower currently provides five layout choices for uploaded designs: basic, half-drop, half-brick, center, and mirror. Its preview allows designers to compare the layouts before saving their choice. You can read the platform’s current explanation in Spoonflower’s official Repeat Options guide.
How a Surface Pattern Is Created
Every artist develops a personal workflow, but most surface pattern projects move through the same general stages.
1. Choose a Theme or Story
Begin with a subject you genuinely want to draw.
The theme can be broad, such as woodland animals, or very specific, such as red squirrels gathering acorns beneath autumn leaves. A specific idea often leads to a more memorable pattern because it gives the motifs a relationship.
Consider:
- Who might enjoy the design?
- What products could it suit?
- What mood should it create?
- Is it playful, elegant, rustic, dark, modern, or nostalgic?
- Which season or setting does it suggest?
These questions provide direction without restricting your creativity.
2. Gather Inspiration Without Copying
Inspiration can come from nature, personal photographs, vintage objects, architecture, books, travel, memories, or everyday life.
Create a small reference collection focused on the subject rather than on another artist’s finished pattern. If you want to draw chickens, for example, study the shapes, movements, feathers, and personalities of real chickens.
The goal is to understand your subject and then interpret it through your own artistic voice—not to reconstruct someone else’s design.
3. Sketch the Motifs
Start loosely. Draw more ideas than you expect to use and allow awkward little sketches to exist. They often contain more personality than the overly careful ones.
I like to think in three rough groups:
- Large hero motifs
- Medium supporting motifs
- Small fillers and marks
Variation in size helps create visual hierarchy. If every element is equally large and detailed, the pattern can become noisy. If every motif is tiny, the design may lack a clear focal point.
4. Refine and Color the Artwork
Once you know which sketches belong together, refine them using your chosen medium.
You can create motifs with:
- Pencil, ink, paint, or collage
- Procreate
- Adobe Illustrator
- Adobe Photoshop
- Affinity Designer or Affinity Photo
- Other illustration and design software
Traditional artwork can be scanned or photographed and then cleaned digitally. Digital artwork can be drawn directly in layers, making it easier to move, rotate, recolor, and resize the motifs.
There is no single “correct” software. The right tool is the one that allows you to create comfortably and export a suitable final file.
5. Build a Color Palette
A limited palette often makes a beginner pattern feel more intentional.
Try beginning with:
- One background color
- One dominant motif color
- One or two supporting colors
- One light or dark accent
Check that important motifs remain visible against the background. Squinting at the design or temporarily viewing it in grayscale can help reveal whether the values have enough contrast.
Also remember that colors on a glowing screen can look different when printed on fabric or paper. Physical samples are the safest way to judge a final commercial color.
6. Arrange the Motifs
Begin with the larger illustrations and establish the overall movement of the pattern. Add medium motifs to support them, then use fillers only where they are genuinely needed.
Watch for:
- Unintended straight lines
- Large empty channels
- Clusters that feel too dense
- Identical motifs sitting too close together
- Too many elements pointing in one direction
- Awkward shapes in the negative space
Negative space is not wasted space. It is part of the design and gives the motifs room to breathe.
7. Create the Repeat Tile
For a basic seamless repeat, the artwork leaving one edge of the canvas must appear in the exact corresponding position on the opposite edge.
You can build this manually or use features within your design software to shift and align the artwork precisely. Always save a backup before merging layers or moving edge elements.
If you want a step-by-step Procreate method, continue with my companion guide:
How to Make a Seamless Repeat Pattern in Procreate
Procreate also offers an official educational lesson that demonstrates how illustrated elements can be turned into a repeating tile and applied to textiles: Repeating Patterns — Learn with Procreate.
8. Test the Pattern
Testing is where a single tile becomes a real pattern.
Reduce the finished tile and place several copies together. A grid of four, nine, or sixteen tiles can reveal issues that are almost invisible in the original artwork.
Look for:
- Fine lines along tile boundaries
- Broken or misaligned motifs
- Repeated empty patches
- Accidental stripes or diagonal trails
- One motif appearing much more often than expected
- A noticeable square around each tile
Zoom in to inspect the seams, then zoom far out to judge the overall rhythm. Both views matter.
9. Try Different Scales
Scale can completely change how a pattern feels.
A tiny repeat may appear delicate and detailed on a shirt or notebook. A large version of the same pattern may feel bold and dramatic on wallpaper or a duvet cover.
When deciding on scale, imagine the distance from which the product will be viewed:
- Small-scale patterns suit items viewed closely.
- Medium-scale patterns are versatile for fabric, accessories, and home décor.
- Large-scale patterns can make a strong statement on wallpaper, bedding, or curtains.
If possible, print the design on ordinary paper at approximately the intended size. A physical printout makes scale much easier to understand than a zoomable screen.
10. Export and Save Your Files
Keep an editable master file containing the separate layers or vector elements. Then create flattened export files for each marketplace or manufacturer.
A useful project folder may include:
- Original sketches
- Editable master artwork
- Final repeat tile
- Repeat test
- Alternate colorways
- Small, medium, and large-scale versions
- Product mockups
- Print-test photographs
- A text file containing the title, description, and keywords
File requirements differ between platforms, so always check the current instructions before uploading.
Preparing a design for Spoonflower
As of this guide’s latest update, Spoonflower requests:
- JPG or PNG
- sRGB color mode
- The intended print dimensions at 150 DPI
- A file smaller than 40 MB
Spoonflower calculates the printed size from the pixel dimensions divided by 150. For example, a 1,800-pixel-wide file displays as 12 inches wide at 150 DPI. The platform explains the current requirements in its official guides to uploading images and sizing designs.
Although Procreate offers RGB and CMYK profiles, Spoonflower specifically recommends sRGB for its printing process. Choose the final platform before deciding on the master color setup, and keep an editable copy in case you need another version later. Procreate explains how profiles work in its official Color Profiles handbook.
Common Beginner Mistakes
Every pattern designer makes mistakes. Most are simply part of learning how artwork behaves when repeated.
Using too many motifs
More drawings do not automatically create a stronger pattern. Begin with a manageable group of elements and add only what the composition needs.
Filling every empty space
A pattern needs rhythm. Filling every gap can make it difficult for the viewer to appreciate the individual illustrations.
Forgetting the repeat test
A beautiful tile can still produce an awkward full repeat. Always inspect multiple copies together.
Moving an element that crosses the edge
Once a motif has been divided across corresponding edges, moving only one piece will break the seam. Keep linked edge elements aligned.
Designing only at screen scale
Repeatedly zooming in and out can hide how large the artwork will print. Test the physical scale whenever possible.
Ignoring product orientation
A directional pattern may look perfect on fabric but place upside-down motifs on certain products. Test the design on realistic mockups.
Expecting the first version to be final
Professional-looking patterns are usually revised. Small adjustments to spacing, scale, and color can make an enormous difference.
Do You Need to Know How to Draw?
You do not need a traditional fine-art background to begin surface pattern design.
Patterns can be built from:
- Simple geometric shapes
- Abstract brush marks
- Hand lettering
- Paper-cut forms
- Photographs or scanned textures you created
- Simple silhouettes
- Detailed illustrations
Strong patterns depend on thoughtful composition and a consistent visual language, not on photorealistic drawing.
Simple shapes can become distinctive when they reflect your personality. A slightly uneven hand-drawn line may give a design warmth that a perfectly mechanical shape would lose.
How to Develop Your Own Pattern Style
Style usually develops through repeated work rather than through one dramatic discovery.
Notice which subjects, marks, colors, and moods you naturally return to. Create several patterns using related ideas and allow them to form a small collection.
You can strengthen your style by:
- Drawing subjects you genuinely care about
- Using a limited selection of favorite brushes or materials
- Repeating certain types of lines and textures
- Exploring several colorways of one design
- Creating collections around a shared story
- Keeping the charming imperfections that make the artwork feel human
My own work often grows from animals, nature, storytelling, and a slightly whimsical view of everyday subjects. One motif can become part of a pattern, a fabric collection, a product, a blog illustration, and a larger creative world.
Building Your First Pattern Portfolio
You do not need fifty designs before you can present your work. A small, thoughtful portfolio is more useful than a large folder of unrelated experiments.
Start with:
- One strong hero pattern
- One simpler coordinate pattern
- One small-scale pattern
- Two or three colorways
- Mockups showing the designs on suitable products
Then create another small collection with a different theme.
A collection often includes a visually dominant pattern supported by quieter designs such as dots, stripes, leaves, stars, textures, or simplified motifs. The supporting patterns make it easier to combine fabrics and products without asking every design to compete for attention.
Can You Sell Surface Pattern Designs?
Yes, but there are several possible business models.
Surface pattern designers may:
- License artwork to manufacturers
- Sell exclusive or non-exclusive pattern licenses
- Work for a company or design studio
- Take commissions from brands
- Sell digital pattern files under clear licence terms
- Upload designs to print-on-demand marketplaces
- Create their own physical products
Print-on-demand platforms are an accessible way to begin because you do not need to manufacture or store inventory yourself. They also let you see how artwork behaves across many products.
However, uploading a pattern is not the end of the work. Strong titles, descriptions, keywords, collections, mockups, and consistent promotion all help customers discover it.
Explore My Surface Pattern Designs
I create original patterns for fabric, wallpaper, home décor, gifts, stationery, and accessories through Sheep & Dragons.
Fabric, wallpaper and home décor
Visit my Spoonflower shop to explore my designs and see how they work across different surfaces:
You can also visit Sheep and Dragons on Spoonflower for more information.
Gifts, stationery and accessories
Many of my designs are also available through Zazzle on products such as notebooks, cards, mugs, accessories, and home décor:
Most Zazzle designs can be transferred to another product. If you love a design but cannot find it on the item you want, you are welcome to contact me.
Every purchase supports my work as an independent Icelandic artist and author.
Your First Pattern Does Not Need to Be Perfect
Surface pattern design combines creativity with a satisfying little technical puzzle. At first, it may take time to understand how the edges connect or why a repeated layout feels unbalanced. That is completely normal.
Begin with a few simple motifs. Create a basic repeat. Test it. Change the spacing. Try another background color. Print it on paper and imagine where it might belong.
Each completed design teaches you something that cannot be learned by endlessly preparing to begin.
You do not need the most expensive software, a huge portfolio, or a perfectly defined artistic style. You need an idea, a willingness to experiment, and enough patience to test the repeat.
The first tile is only the beginning. Once it repeats, your artwork can cover an entire world of surfaces.