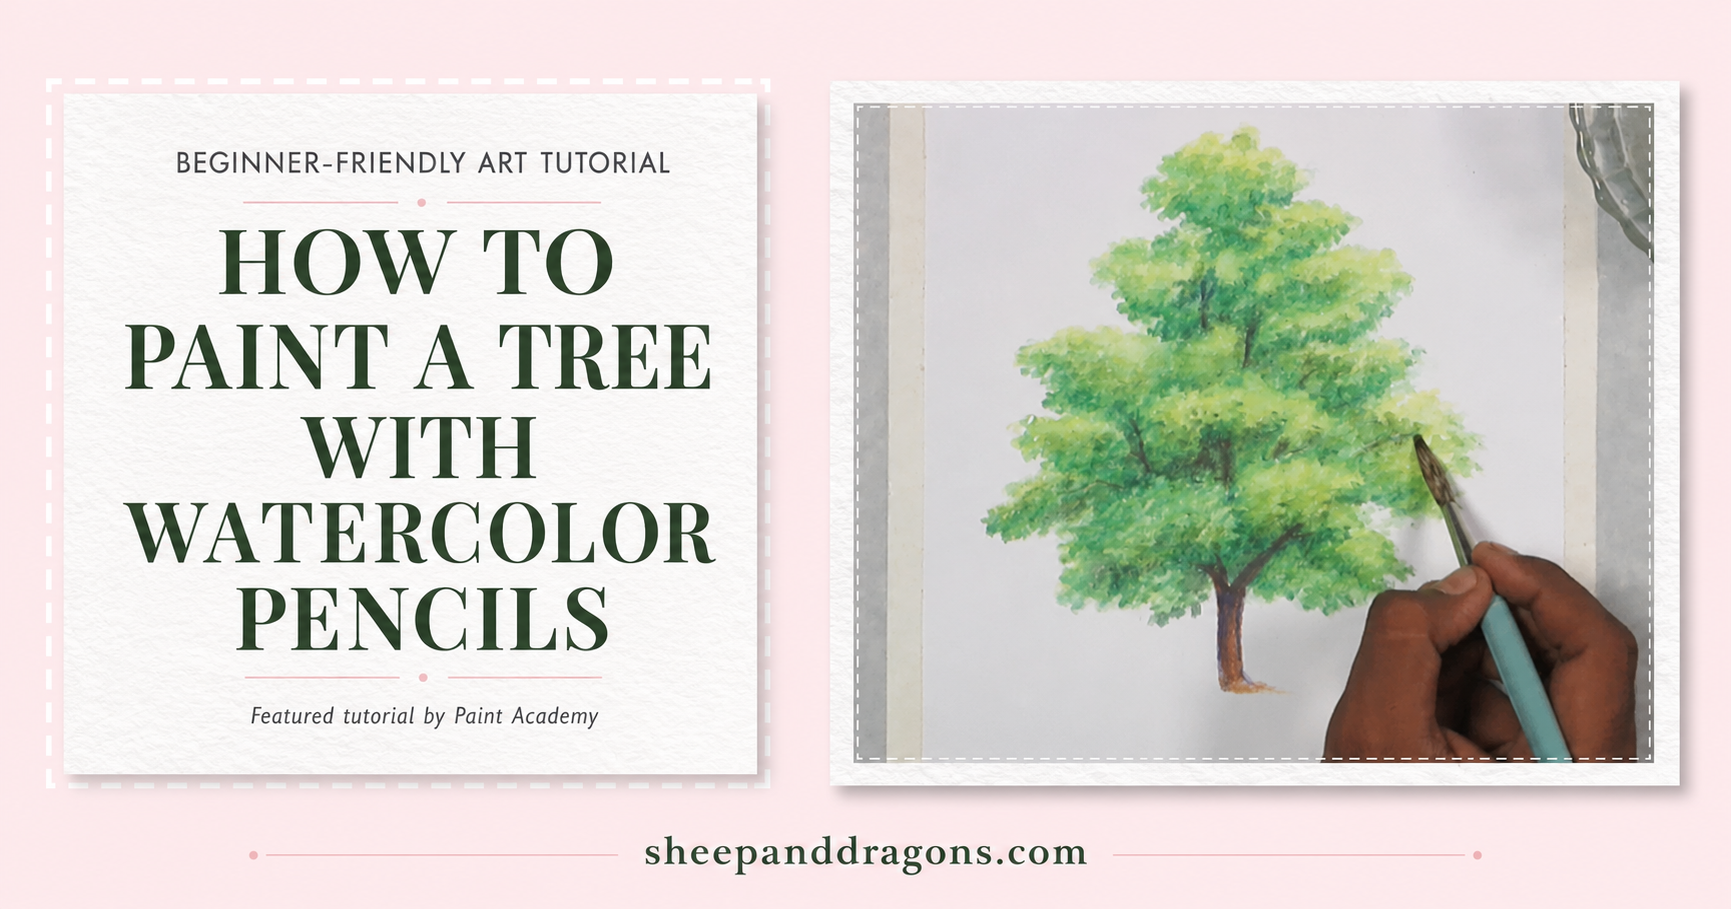
Watercolor pencils are a wonderfully approachable way to combine drawing and painting. You can build color with the control of a pencil, then use a damp brush to soften the marks and create flowing watercolor effects.
In this featured tutorial, Paint Academy demonstrates how to paint a tree with watercolor pencils in a simple, step-by-step format. A tree is an excellent practice subject because it allows you to explore color layering, natural textures, light and shadow, and the movement of branches and foliage without needing every mark to be perfect.
Whether you are completely new to watercolor pencils or simply looking for a peaceful nature-inspired exercise, this is a lovely tutorial to try.
What You Can Learn from This Tutorial
The video follows the painting process from the first pencil marks through to the finished tree. As you follow along, pay attention to how separate pencil strokes begin to work together once water is introduced.
This project can help you practice:
- Building the shape of a tree with simple marks
- Layering greens, yellows, and earthy colors
- Creating texture in the trunk and foliage
- Activating watercolor pencil with a damp brush
- Preserving lighter areas instead of covering the entire page
- Adding darker values to give the tree depth
- Combining controlled pencil details with softer painted areas
One of the pleasures of watercolor pencils is that you do not have to choose between drawing and painting. You can move back and forth between the two, softening some areas with water while leaving other pencil marks visible for texture.
Materials You May Need
You do not need an enormous collection of supplies to experiment with this technique. A simple set is enough.
- Watercolor pencils
- Watercolor paper or another sturdy mixed-media paper
- A small or medium round watercolor brush
- A container of clean water
- Paper towel or a soft cloth
- A regular pencil and eraser for a light preliminary sketch
- Masking tape or painter’s tape, if you would like to secure the paper
For a natural-looking tree, it is useful to have several shades of green alongside yellow, brown, and a darker neutral color. However, you can also create a more imaginative version using autumn shades, soft pastels, deep blues, or even magical purples.
A Few Watercolor Pencil Tips Before You Begin
Begin with light pressure
It is easier to add stronger color than it is to remove it. Start gently, establish the main shapes, and gradually build darker areas.
Work from light to dark
Leave some of the paper showing through in the lightest parts of the foliage. These small untouched areas can help the tree feel airy rather than heavy and flat.
Control the amount of water
A brush that is damp rather than dripping wet gives you more control. Too much water can spread the pigment farther than you intended.
Let layers dry
If you want to add crisp pencil texture over a painted section, allow the paper to dry first. Drawing forcefully on damp paper can damage its surface.
Keep some pencil marks visible
You do not need to dissolve every stroke. A mixture of softened color and visible pencil texture is part of what makes watercolor pencil artwork so appealing.
Watch: How to Paint a Tree with Watercolor Pencil
This tutorial was created by Paint Academy.
<iframe width=”560″ height=”315″ src=”https://www.youtube.com/embed/tQJXmvyQ8Mc” title=”How to Paint A Tree with Watercolor Pencil by Paint Academy” frameborder=”0″ allow=”accelerometer; autoplay; clipboard-write; encrypted-media; gyroscope; picture-in-picture; web-share” referrerpolicy=”strict-origin-when-cross-origin” allowfullscreen></iframe>
Watch the original tutorial on YouTube
Why This Is a Useful Beginner Project
Trees are forgiving subjects. No two branches, leaves, or patches of bark are identical in nature, so your painting does not need rigid symmetry or perfectly repeated shapes.
The project also gives you an opportunity to practice several useful watercolor-pencil skills in one image. You can use the pencils dry for thin branches and bark details, activate larger areas with water, then return after drying to strengthen shadows or add more texture.
Most importantly, you can repeat the same basic exercise many times without creating the same tree twice. Each version can help you understand the medium a little better.
About Paint Academy
Paint Academy is a YouTube art channel offering step-by-step drawing and painting demonstrations. Its collection includes tutorials using watercolor pencils, colored pencils, watercolor, and other traditional art materials.
The channel is a useful place to explore individual projects and watch how an artwork develops from an empty page to a finished piece.
Explore more:
Make the Tree Your Own
After following the tutorial once, try using the same basic process to create a tree with a different mood or season.
You could paint:
- A fresh spring tree with pale yellow-green leaves
- A warm autumn tree in gold, rust, and deep red
- A dark evergreen against a winter sky
- A blossoming tree with soft pink or white flowers
- A whimsical fantasy tree in blue, violet, and turquoise
- A row of smaller trees fading into the distance
You could also add a simple background wash, distant hills, flowers around the roots, birds in the branches, or a tiny doorway hidden in the trunk. Once the basic technique feels comfortable, the tree can become the beginning of an entire illustrated world.
Discover More Art Tutorials
If you enjoyed this watercolor pencil exercise, continue experimenting with:
- Watercolor landscape painting
- Botanical drawing and painting
- Colored-pencil texture techniques
- Easy nature studies for beginners
- Whimsical illustration ideas
You may also enjoy Easy Tricks to Paint a Landscape in Watercolor, another featured tutorial exploring trees, skies, water, reflections, and grasses.
The featured video and original tutorial were created by Paint Academy. Sheep & Dragons is sharing the tutorial for educational discovery and has embedded the original YouTube video so viewers can watch and support the creator directly.